Are you a web designer or developer looking to test your WordPress site before going live? Setting up a WordPress site on localhost is the perfect solution. By hosting WordPress locally, you can make design and functionality changes without affecting a live site. This guide will walk you through the steps to install and launch a WordPress site on your local machine.
What You Need to Get Started:
- A local server environment (e.g., XAMPP, MAMP, WAMP)
- WordPress installation files
Step 1: Install a Local Server (XAMPP, WAMP, or MAMP)
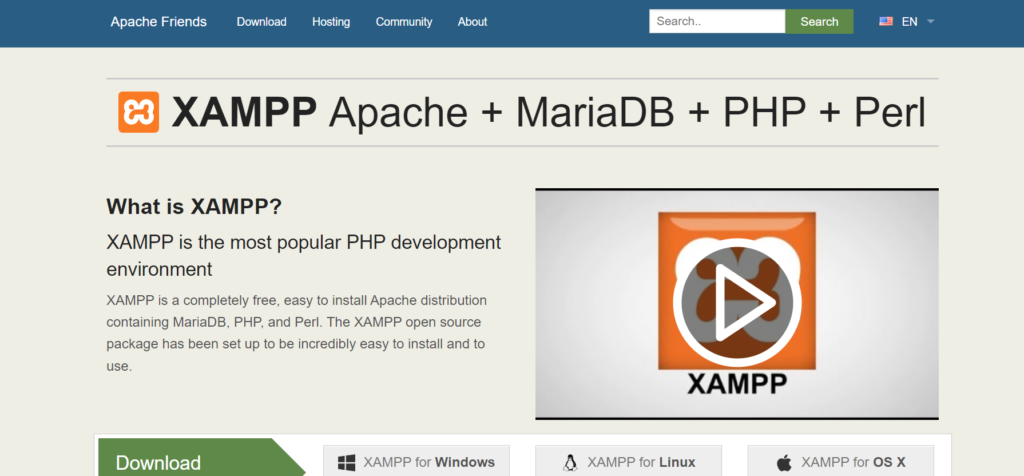
A local server stack (like XAMPP, WAMP for Windows, or MAMP for macOS) provides the necessary tools to run WordPress locally, including Apache (web server), PHP (scripting language), and MySQL (database).
- Download XAMPP/WAMP/MAMP:
- Go to the XAMPP website and download the version for your operating system.
- If you’re using macOS, you can download MAMP.
- Install the software following the on-screen instructions.
- Start the Local Server:
- Open XAMPP (or WAMP/MAMP) and start the Apache and MySQL services.
- For XAMPP, open the Control Panel, then click “Start” next to Apache and MySQL.
- For MAMP, simply click “Start Servers.”
Run XAMPP Control Panel:
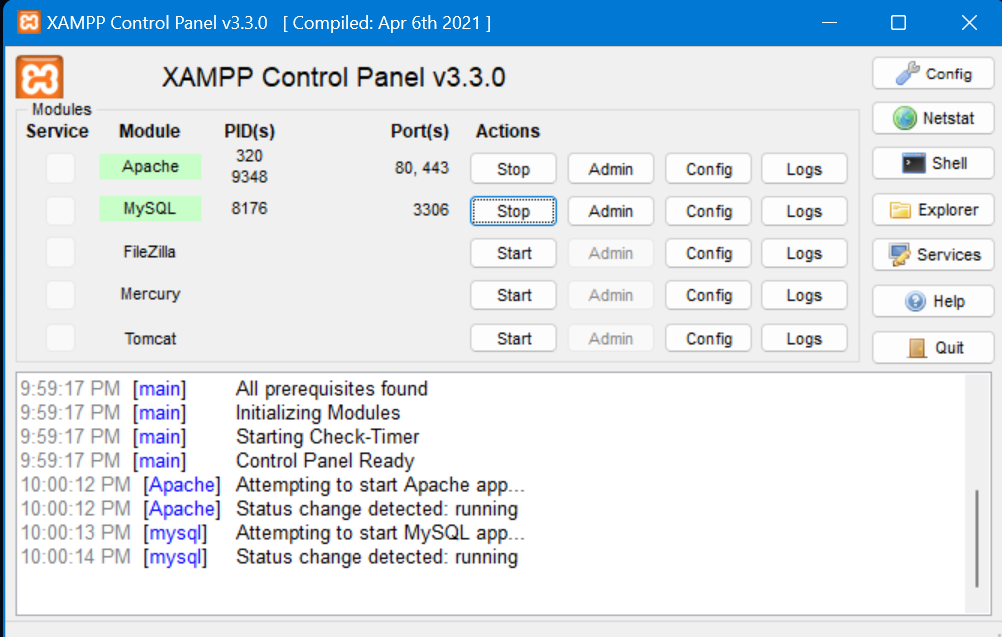
To run WordPress on localhost, you’ll need a local server environment. XAMPP is one of the most popular options because it’s easy to install and includes everything you need to host WordPress locally.
How to Use XAMPP Control Panel
Once you install XAMPP, the XAMPP Control Panel is where you’ll manage the server services (Apache and MySQL) required for WordPress to run. Here’s how you can use it:
- Start XAMPP Control Panel:
- After installing XAMPP, launch the XAMPP Control Panel from your desktop or start menu.
- You’ll see a list of services, including Apache (web server) and MySQL (database server), which are the essential services for running WordPress.
- Start Apache and MySQL Services:
- In the XAMPP Control Panel, click Start next to Apache and MySQL to activate them.
- Once started, you’ll see the status change to green, indicating that the services are running.
- Apache runs your local website, while MySQL manages your WordPress database.
- Additional XAMPP Control Panel Features:
- Admin Button: Next to MySQL, click Admin to quickly access phpMyAdmin, the tool you’ll use to create a database for WordPress.
- Logs: You can view logs for both Apache and MySQL to troubleshoot any issues.
- Stop Services: When you’re done working, you can stop Apache and MySQL by clicking the Stop buttons.
By using the XAMPP Control Panel, you have complete control over when your local server is running, allowing you to work on your WordPress site whenever needed without any live server costs or risks.
Step 2: Download WordPress
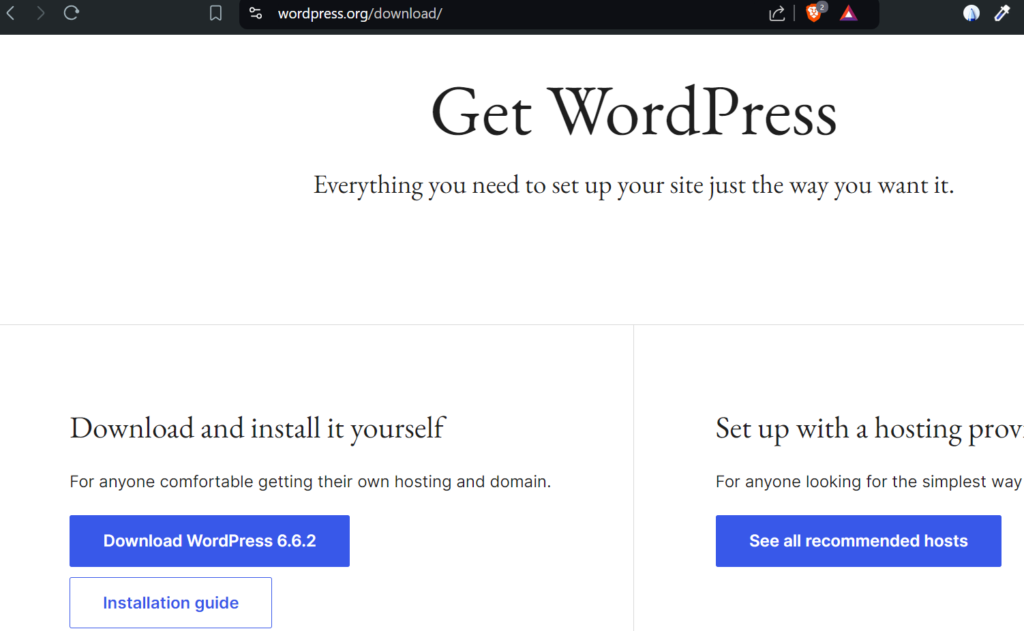
Now that your local server is running, it’s time to install WordPress.
- Download WordPress:
- Visit the WordPress.org download page and download the latest version of WordPress.
- Extract the downloaded .zip file to a folder on your computer.
- Move WordPress Files to Localhost Directory:
- For XAMPP: Copy the extracted WordPress folder to the htdocs directory inside the XAMPP installation folder (usually located at
your_drive:xampphtdocs).For MAMP: Move the WordPress files into the /Applications/MAMP/htdocs/ directory.
- For XAMPP: Copy the extracted WordPress folder to the htdocs directory inside the XAMPP installation folder (usually located at
Step 3: Create a MySQL Database for WordPress
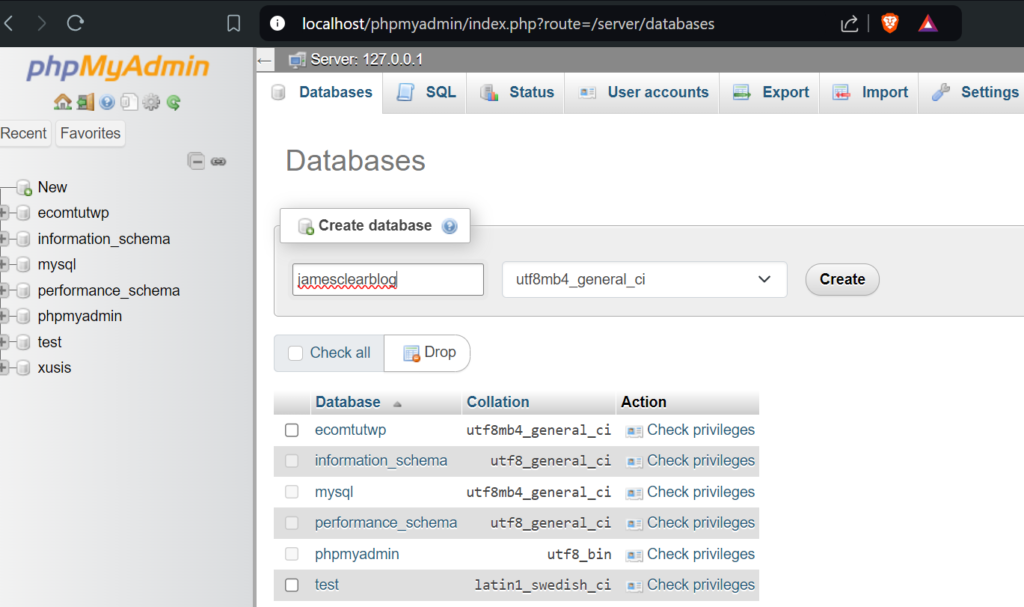
WordPress requires a database to store its content. You’ll need to create one on your local server.
- Open phpMyAdmin:
- In XAMPP, open your web browser and type
http://localhost/phpmyadmin/. - In MAMP, go to
http://localhost:8888/phpMyAdmin/.
- In XAMPP, open your web browser and type
- Create a New Database:
- In phpMyAdmin, click on the Databases tab.
- Enter a name for your database (e.g.,
wordpress_db) and select utf8_general_ci for the collation. - Click Create.
Step 4: Configure WordPress
Now that the database is ready, you need to connect WordPress to it.
- Open the WordPress Setup:
- In your browser, go to
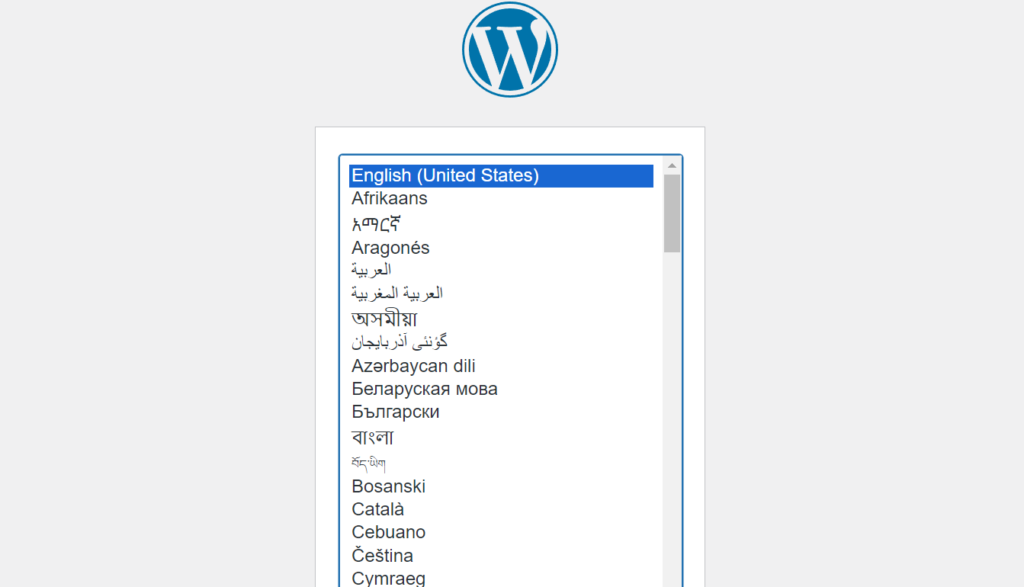
http://localhost/mysite/(replace “mysite” with the name of your WordPress folder). - You will be prompted to select a language. Choose your preferred language and click Continue.
- In your browser, go to
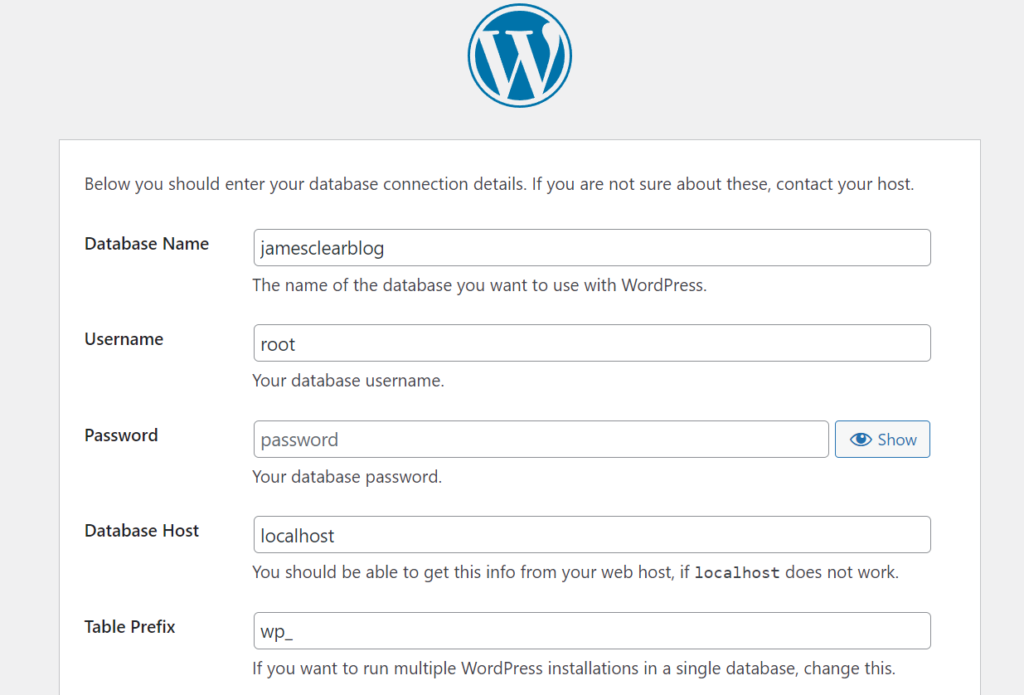
- Enter Database Details:
- In the setup form, you’ll need to enter the database details you created in phpMyAdmin.
- Database Name:
wordpress_db(or the name of your database) - Username:
root - Password: (leave blank for XAMPP; for MAMP, the default password is
root) - Database Host:
localhost - Table Prefix:
wp_(you can leave this as it is)
- Database Name:
- Click Submit, and then click Run the Installation.
- In the setup form, you’ll need to enter the database details you created in phpMyAdmin.
- Set Up Your WordPress Site:
- You’ll now be asked to enter site details:
- Site Title: Your website name
- Username: The admin username you’ll use to log in
- Password: Choose a strong password for security
- Your Email: Enter your email address
- Search Engine Visibility: Leave this unchecked since you’re working on a local site.
- Click Install WordPress.
- You’ll now be asked to enter site details:
- Log in to WordPress:
- After the installation is complete, you’ll be directed to the WordPress login page.
- Enter your username and password to log in.
Step 5: Start Building Your WordPress Site Locally
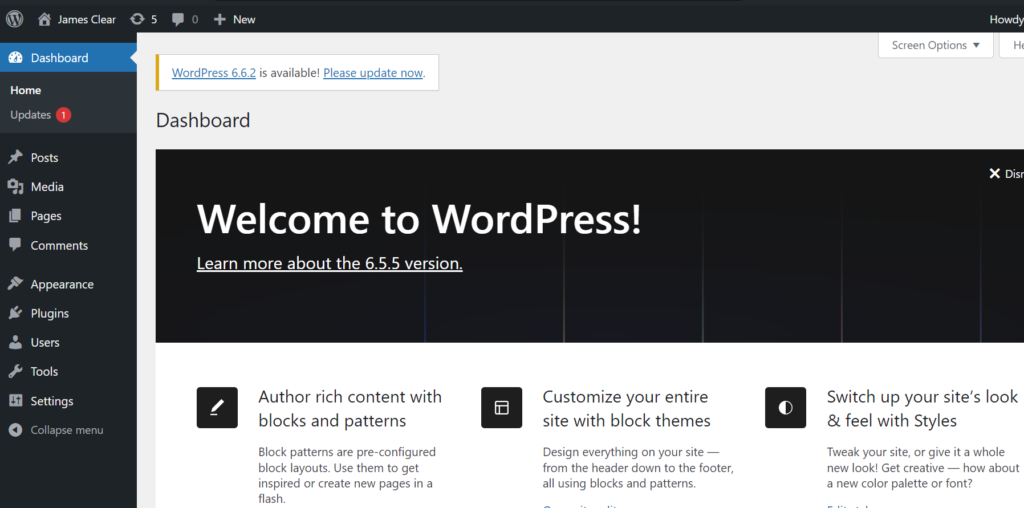
Congratulations! You now have a fully functional WordPress site running on localhost. You can start building and customizing your site just as you would on a live server.
- Add Themes and Plugins: You can install themes and plugins to design your site and add functionalities.
- Test Site Features: Test different site features without affecting a live environment.
Step 6: Moving from Localhost to Live Server (Optional)
Once you’re satisfied with your locally hosted WordPress site, you may want to move it to a live server. You can use plugins like Duplicator or All-in-One WP Migration to export your local WordPress site and import it to your live hosting server.
Looking for Reliable Hosting? Try Hostinger!

If you’re ready to create your first WordPress website, choosing the right hosting provider is crucial. I highly recommend Hostinger for its affordability, speed, and ease of use—especially for beginners.
With Hostinger, you get:
- Fast WordPress Installation: One-click installation to get your site up and running quickly.
- 24/7 Customer Support: Always have help when you need it.
- Affordable Plans: Perfect for those just starting out, with pricing that won’t break the bank.
- Free Domain & SSL: Secure your website with SSL and grab a free domain when you sign up!
Ready to launch your website? Get started with Hostinger today and enjoy a smooth website-building experience!
Conclusion: Setting up WordPress on localhost is an essential step for web developers and designers. It provides a safe and efficient way to test and build sites before launching them live. Whether you’re a beginner or an experienced developer, following these steps will help you get your WordPress site up and running on your local machine. Happy developing!
